

Unless you’re living in a home with thick brick walls at every turn, sound issues are going to be a problem at some point. Interior walls just aren’t built to provide a good level of noise reduction and privacy. Exterior walls are a bit better, but they’re still not going to block out all of the outside noise.
If you need a bit of peace and quiet, you can take steps to minimize noise. Soundproofing allows you to block sound transmission, creating an ultra-quiet space. Great for recording studios, home theaters, and game rooms, soundproofing techniques are all about keeping noise contained.
The great thing about soundproofing projects is that they can be as intensive or as simple as you want! Whether you’re creating a new space in your home that needs some containment or you’re simply wanting to get some solace from loud neighbors, there’s a lot that you can do when you know how to soundproof a room.
How To Soundproof A Room
Different Types of Soundproofing
Before we get into creating sound barriers, let us dive a bit deeper into what it means to “soundproof” a room. This term is often thrown around by anyone looking to treat sound issues in a room. However, sound is far more complex than it gets credit for!
There’s a big difference between blocking sound completely and treating the way it bounces through the room.
Blocking Sound Transmission
If you’re looking to prevent noise from getting in or out a room, you’re interested in blocking sound transmissions. Technically speaking, this is the truest form of soundproofing!
In many cases, noise problems are a product of vibrations moving through the structure of a home. No matter how big the building is, all of the walls, ceilings, and floors are connected through your home’s framing. When sound waves bleed through the wall covering, they vibrate those structural components, making the sound ring through.
The act of soundproofing is to block that sound energy from sending vibrations outside of the room. This is a bit more complicated than just tacking on some sound absorbers. You have to physically change the design of the room to isolate it.
Think of it as isolating a record player. Impact noise from footsteps or loudspeakers vibrates the record player, which creates unwanted noise being picked up. To combat that, you must isolate the machine from those external effects through rubber feet or padding. The same principles apply to soundproof a room.
Blocking sound transmissions is a two-way street, so it works for many applications. You can soundproof recording studios to prevent extraneous sounds from getting picked up on the mic. Or, you can soundproof a home theater to make sure that no one else hears your movie.
Sound Absorption and Acoustic Treatment
Next up, we have sound absorption. This form of “soundproofing” is all about containing sounds within a room.
When sound waves leave the source, they will fly through the air on a relatively straight trajectory until they fully dissipate. However, the attenuation of sound requires a lot of distance. In a closed room, those sound waves are more likely to hit a wall before they dissipate. As a result, they bounce across space and create reverberations.
Have you ever made a loud noise in a large empty room? Chances are, it echoed multiple times before disappearing. That’s because the sound waves can bounce uninterrupted. Hard surfaces, such as your wall, are perfect for reflecting sound waves.
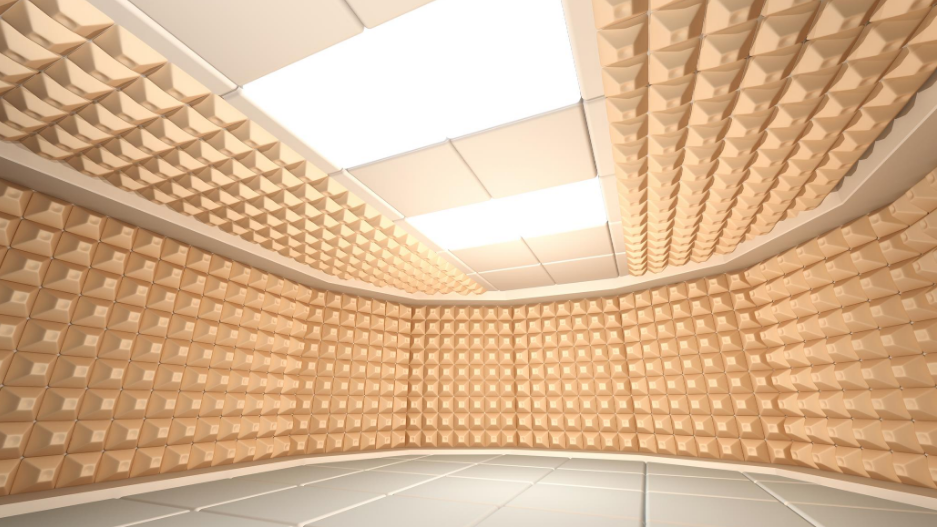
Sound absorbers reduce or downright eliminate reflections. Depending on the design of the absorber, it will either break up the reflections or turn them into kinetic energy.
The former occurs when you use convoluted panels with unique shapes. The shapes force the sound waves to bounce sporadically so they lose energy. If the panels are porous, the material will absorb the waves and create friction. The friction then turns the sound energy into kinetic energy for quick dissipation.
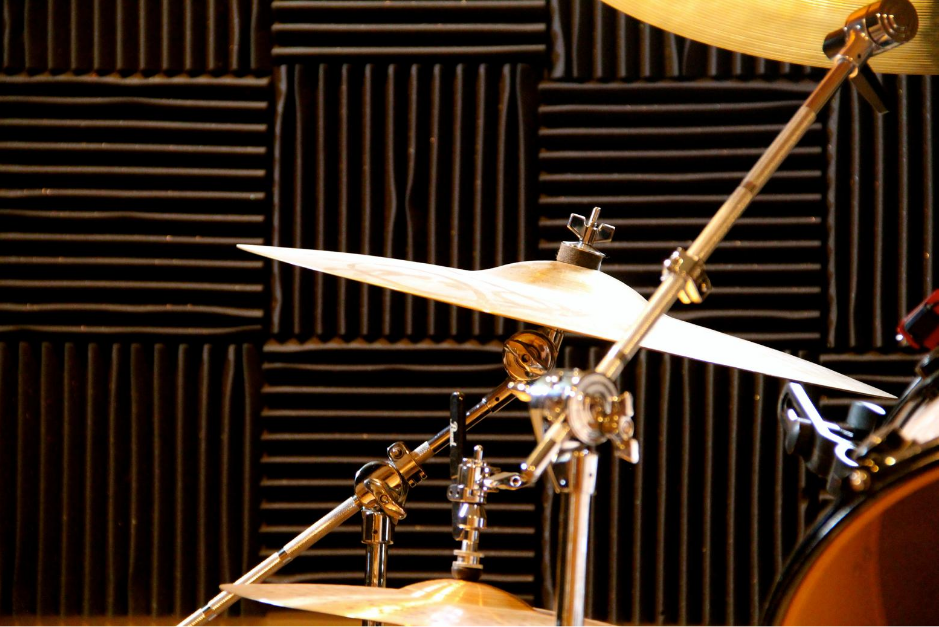
When you acoustically treat a room, you’re changing the way sound travels inside of it. Thus, this is best for rooms where sound quality matters. Reflections are notorious for creating standing waves, phase cancellation, and a host of other issues. Sound absorption addresses those problems. It’s most often used in recording booths, studios, theaters, or music rooms. Oftentimes, sound-absorbing and sound-blocking techniques work in tandem to keep sound clean and contained.
Soundproofing Techniques
Now, let’s talk about some of the available soundproofing techniques. Getting rid of noise is no easy task. But, with a little know-how, you can get the job done without hiring an acoustical engineer!. There are a lot of methods to prevent sound transmission.
Here are some of the most popular and effective techniques you can try out.
Reducing Transmission Through Doors
This is, perhaps, one of the easiest ways to keep sounds contained. Doors are the biggest source of escape for noise. It makes sense; it’s an opening that allows sound waves to travel freely.
If you can hear what’s happening on the other side of a door when it’s closed, you likely have some air leaks! This is pretty common with interior doors. Though, exterior doors can experience them, too. If air and light can come through a closed door, so can sound!
Luckily, there are plenty of quick ways to reduce those transmissions. You can use some weatherstripping or caulk around the door frame to create a sound barrier. To address openings under the door, just use a door sweep.
This technique can be applied to any soundproofing project. Use it on interior doors for individual rooms and you should notice some serious improvements.
Soundproofing Windows
Like doors, windows can be a source of sound leaks. There are a few different ways that you can address this. The first is to use the same simple weatherproofing techniques. Use weatherstripping and caulk to seal all gaps. That alone will make a big difference.
To take things a step further, you can create additional barriers with drapes or inserts. Thick blackout curtains will absorb any outside noise that manages to creep through. Meanwhile, well-fitted inserts form another layer to weaken vibrations even further. Window inserts are a great option if you don’t want to sacrifice visibility and light.
For a more permanent solution, you can upgrade your window. Choose a soundproof window. This is different than an energy-efficient one. Soundproof windows contain multiple panes of glass with varying thicknesses. They may have gaskets and strategic placement within the window casing, too.
These windows work by weakening sound energy and vibrations as they pass through the glass. It’s a great option that still gives you all of the light you need.
Reducing Sound Through Ceilings and Floors
If you’re dealing with noisy neighbors above or below, you can apply sound dampening methods to your floors or ceilings. For ceilings, acoustic panels are your best bet for doing things on the cheap. Dense foam or compacted fibers will absorb some sound to keep noise levels to a minimum.
Now, these techniques aren’t the most effective solution around. But, they are suitable if you’re unable to do major renovations.
Panels and Partitions
Acoustic panels work well on the walls, too. Hang some up to reduce vibrations and sound energy travel. You can also use them to address reflections as we mentioned earlier.
If you need something more robust, you can create thicker partitions. Thickness and density are key to blocking sound transmission. Using this knowledge, there are many DIY solutions to treat walls. The easiest solution is to use furniture! Make some built-in bookshelves on your shared existing walls.
This added mass will muffle sound while also giving you some practical storage solutions. Just make sure that the bookcase is snug and airtight against the wall for the best results.
Decoupling Party Walls
Decoupling your walls, floors, and ceilings is the most effective soundproofing technique. But, it’s also the most expensive and time-consuming!
When you decouple a wall, you’re basically creating a room within a room. The goal here is to create a gap between the walls and breaking the connection the structural components have with each other. This prevents the sound waves from vibrating through the studs and into the adjacent room.
Typically, several soundproofing materials are used when walls are decoupled. You might add some thermal insulation, additional layers of drywall, or acoustic foam. For optimal results, you may want to create brand-new ceiling joists, too.
Whatever the case may be, this technique can work wonders! Obviously, it’s a permanent solution. So, it’s best reserved for major projects like studios and theaters.
Adding Density
Finally, you can always improve the density of your walls or ceilings. This is a good choice if you plan on doing some renovations but don’t have the space to decouple. For example, you might have a smaller room that would only shrink even more if you decoupled the walls.
To add density, you’re going to stuff the walls with soundproofing materials. You might surround the wall studs with foam or insert materials into the space between the wall’s structural components.
With this soundproofing method, you’re getting rid of that hollow space inside the walls and creating an additional barrier to weaken vibrations.
Types of Soundproofing Materials
The materials you use on your soundproofing project are going to have a big impact on the results. Some materials are far more effective than others. So which ones should you use?
It all depends on the room and your needs. Here are some of the most effective materials you can use.
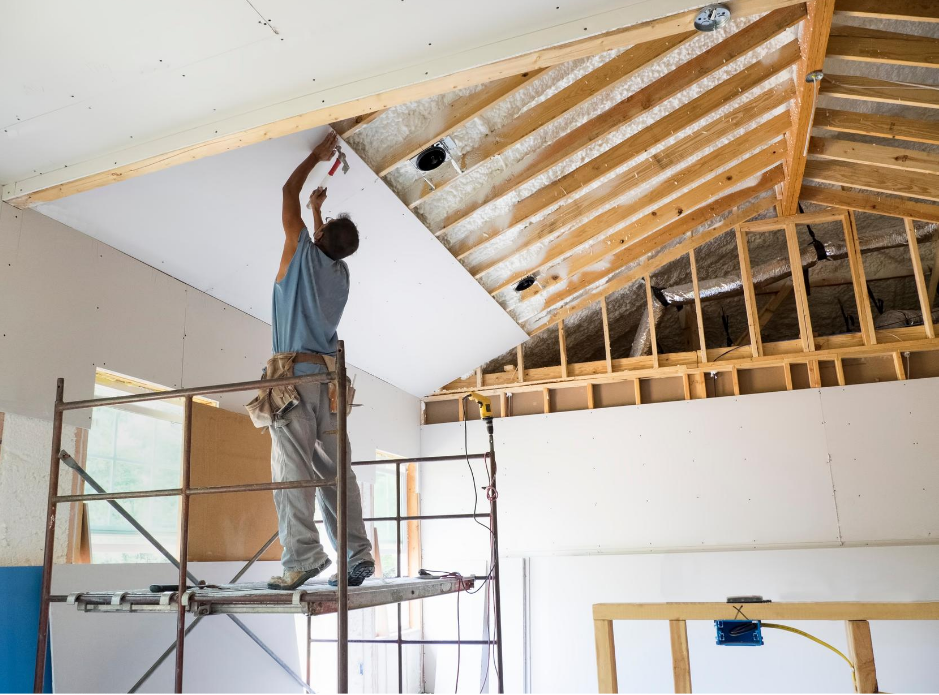
Drywall
Drywall is a very effective material if you’re doing a major remodel. If you’re not familiar with construction lingo, drywall is just a layer of gypsum sandwiched between sheets of facer and backer paper. Chances are, it’s what’s covering your walls right now!
I know what you’re thinking: “hard surfaces reflect sound, so why use more of it?” Well, it all comes down to density. You can easily pile on extra layers of drywall to reduce sound transmission through the walls. It dampens the vibration.
Some brands of insulation are specially made with soundproofing in mind. They typically have more mass and density. But even just standard drywall works. Add several layers to get the level of containment you need.
While you’re at it, consider using resilient channels during installation. Resilient channels are simple strips of metal that you can attach the drywall to. Usually, drywall is installed directly onto the wall studs. Resilient channels act as a barrier, essentially decoupling the drywall from the wall.
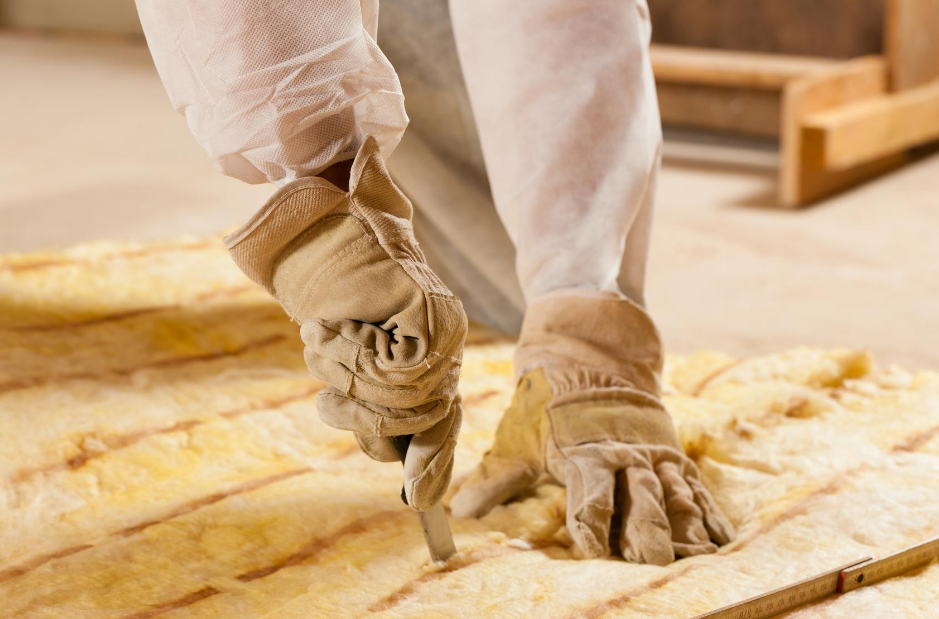
Insulation
Another option is to use insulation. Insulation is a dense material that reduces airflow and heat transfer. Because it stops air, it can also stop sound energy and vibrations.
Use thick thermal insulation between the wall studs. Like drywall, you can easily find insulation products that are designed to reduce sound transmission. Some products are made out of shredded fiberglass. Others use wool or rock-based mineral fiber.
Whatever insulation product you use, you should see some noticeable results. After inserting the insulation, seal the wall with a few layers of drywall and you’ll have a dense wall that’s ready to keep noise contained.
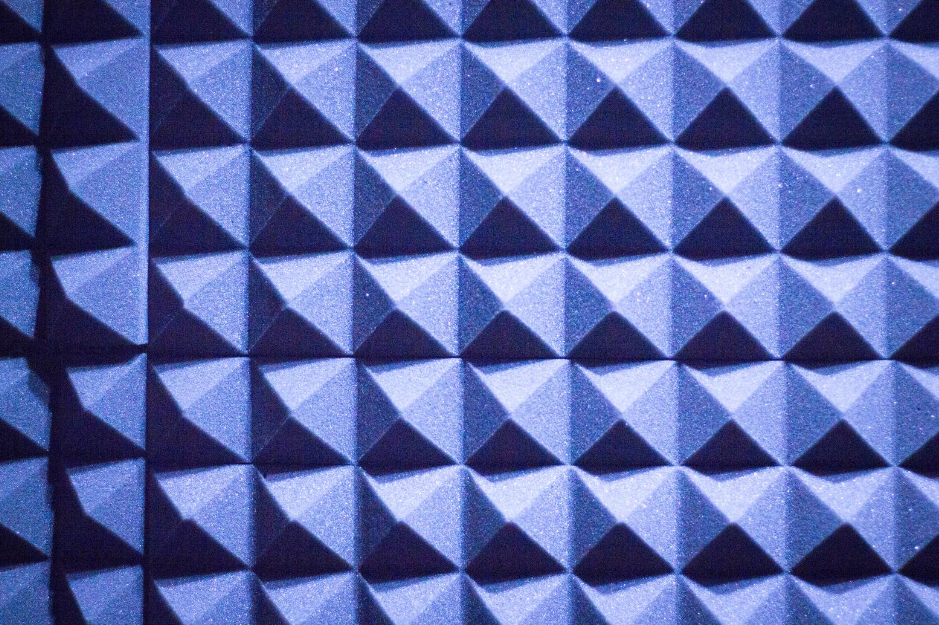
Acoustic Foam Panels
Acoustic foam panels work a bit differently than spray foam. These products are meant to go outside the wall. You can tack them onto your drywall.
Most panels are made out of open-cell polyurethane foam. Some are just compressed panels of polyester fiber. Both options are effective at absorbing sound. Not only do they weaken vibrations to reduce transmission, but they can also eliminate reflections.
The beauty of acoustic foam panels, or sound dampening panels, is that you can easily install them anywhere. Hang them up for a quick recording session or cover the walls for better long-lasting results. The choice is yours.

Mass Loaded Vinyl
One of the best materials you can use is mass loaded vinyl. This is a product that’s specifically engineered with soundproofing in mind. It adds density to reduce vibrations. Oftentimes, you can see the material wrapped around loud equipment or ductwork. But, you can easily use it on your walls and floors.
Mass loaded vinyl usually comes in rolls. It has two main constituents. The first is vinyl, which adds flexibility to the product for easy application. The second is a high-mass substance. Depending on the brand, the substance might be organic salts, sand, or tiny metal particles.
This material adds anywhere between 25 and 32 STC to your walls. STC rating, or Sound Transmission Class rating, is a measurement used to indicate how well a product attenuates sound. The higher the rating, the more capable the product is at reducing sound transmissions.
For some perspective, a standard “paper-thin” wall has an STC rating between 15 and 33. When you add mass loaded vinyl to the wall, you’re effectively doubling the sound protection! You can also use it inside the wall or around objects for optimal results.

Caulk and Sealants
Earlier, we talked about how gaps around your doors and windows let sound escape a room. To seal those gaps, you can use caulking or weatherstripping.
Caulk is a filler and sealant that prevents air leakage. Standard silicone caulk products work just fine to fill gaps. For better results, you can invest in acoustical caulk. Caulk comes in liquid form, making it easy to get into smaller nooks and crannies. Just apply the caulk, spread it with your finger or a specialty tool, and let it dry.
Weatherstripping serves the same purpose as caulk. But, it comes in manageable rolls. Most weatherstripping products are made of high-density foam. It’s similar to the stuff used on acoustical panels. Some strips are rubber, which offers more density.

Curtains
If you need to keep costs low, standard curtains work well to control sound. It’s a good material for DIY projects. Use thick and heavy curtains. Remember, density is key!
You can hang the drapes over your windows to stop sound transmission. It also works around the door or on walls. The material absorbs the sound energy, effectively addressing sound problems without breaking the bank!
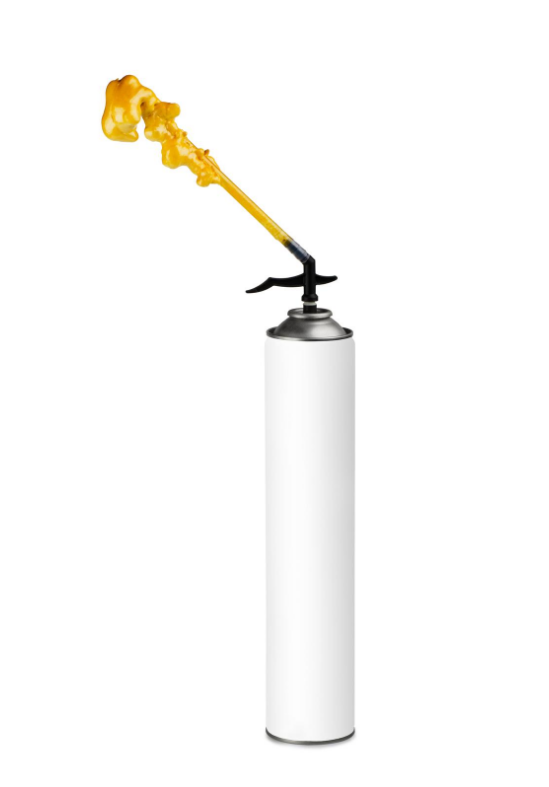
Acoustic Spray Foam
Designed to fill voids between wall studs and floor joists, acoustic spray foam does the same job as insulation. However, it can be far more effective.
When the foam is applied, it starts off as a liquid. It quickly expands to thick foam, filling every nook and cranny it can get into. It’s like applying weatherstripping and insulation in one step!
Conclusion
As you can see, learning how to soundproof a room is not so hard once you know what you’re doing! It’s best to have some basic understanding of how sound travels throughout a space. Having a good grasp of the physics of sound can make all the difference.
Try some of these techniques and see what kind of results you can achieve. You’ll be pleasantly surprised by the final results. Whether you need to block noise and isolate a room or want to create some acoustic treatments to stop unwanted reverb, these techniques in how to soundproof a room can get the job done.


